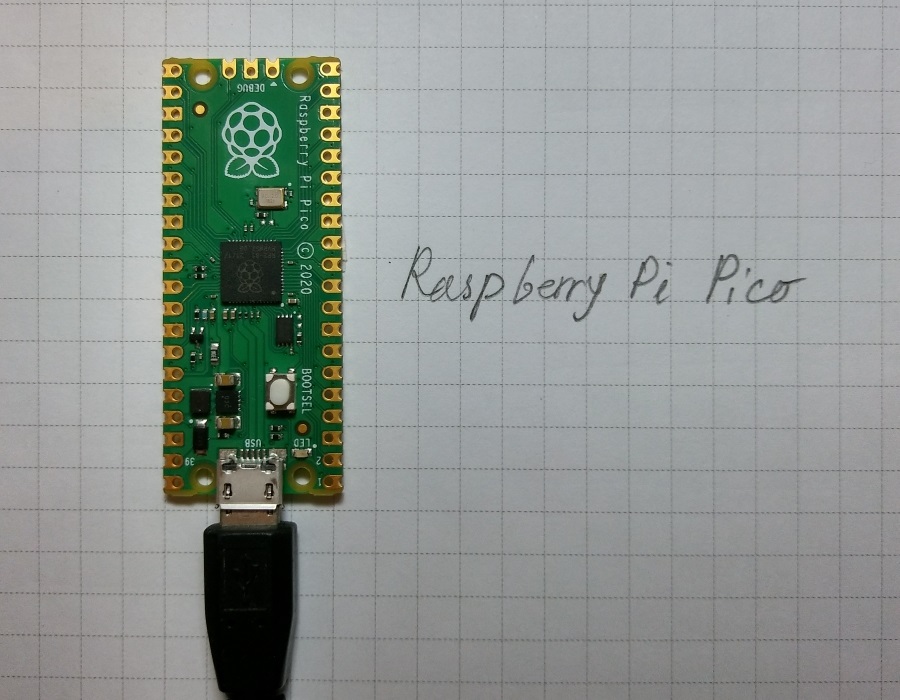
In addition to lots of human death, the Corona pandemic has been having a negative impact on many industries, which the electronics and semiconductors industries are not exceptions. The shortage of MCUs and huge increases in their prices, just stop many companies and engineers developing their new or already existing ideas and products. The first workaround which comes to mind is to use MCUs which are available in the market and have a reasonable price. This workaround will be needing to learn and program new MCUs and switch to new developing environments which seem time-consuming, but it surely worth it when it is going to decrease the product cost several times and lead the developer to learn something new. I had never been keen on using a microcontroller such as RP2040 before an ST microcontroller like STM32F103C8T6 has gone out of stuck in the markets. Apart from its $1 price, after taking a look at the RP2040 datasheet and the SDK, I found it a a very good MCU which could be suitable for many designs such as IoT and home appliance and even sometimes better than any others. So I have gotten a PICO board and started doing some tests on it. Although preparing the programming environment for RP2040 on windows was a pain (finally ended up with steps in the official document easily after wasting ages on the Internet), the VS Code and pico-sdk just provides a convenient environment. Here I am going to post my first test (after the blink) on the PICO, USB device Generic HID InOut.
Implementing this test will be super easy if you are already able to test and execute any of the examples in the pico-sdk. The pico-sdk uses the tinyusb for the RP2040 USB peripheral, which is an open source light weight USB library has been developing for embedded systems.
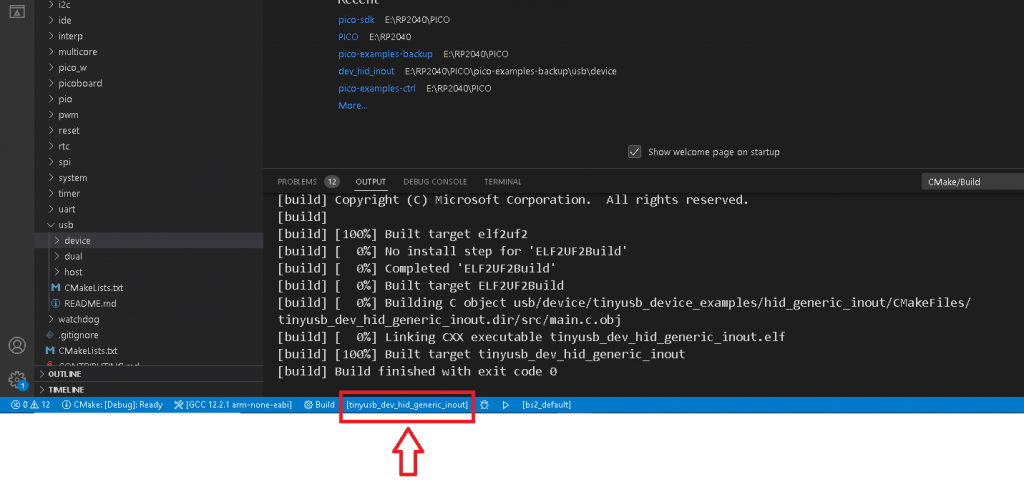
I downloaded the tinyusb repo files and placed them under pico-sdk\lib\tinyusb path. After a build [all] in VSCode, the tinyusb_device_examples folder was generated in the
pico-examples\build\usb\device and pico-examples\build\usb\host paths, which each of them contains all the folders for tinyusb examples. Then to generate the output files such as hex and uf2 for hid_generic_inout example, I set the default build target to tinyusb_dev_hid_generic_inout in the bottom blue bar of the VSCode and performed a build. So that the output files was generated in
pico-examples\build\usb\device\tinyusb_device_examples\hid_generic_inoutp path.
To make sure that I am just doing the job correctly, I have made a little change in the example’s source code and added the lines below in the source code in function tud_hid_set_report_cb as follows:
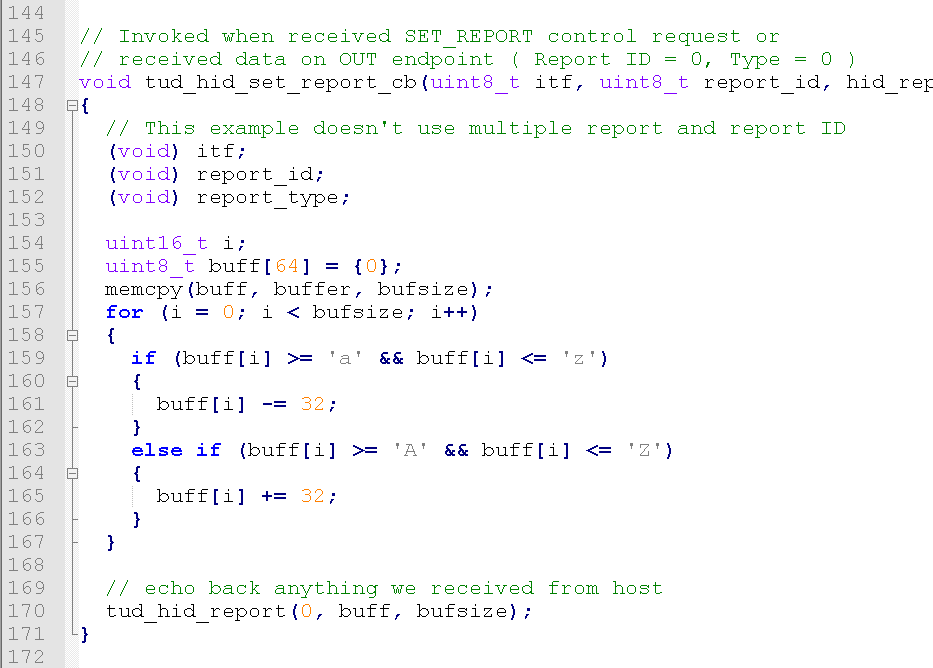
The above code will change the letter case of received characters. So the characters’ case will be reversed before being sent back to the host. Note that the tinyusb source files are in pico-sdk folder under lib\tinyusb\examples and our file is in the device folder while the output files will be generated in pico-examples path in the build folder.
To test the example, after performing a build, I powered my PICO board on while the button on the board was pressed and then I put the uf2 file of the project in the storage drive which PICO provides in USB mass storage boot mode. I have made some changes in the Custom HID Tester program I used for STM32 in previous post so that it can send up to 64 characters of the user input text to the device and show the received characters.

The Custom HID Tester file (.exe) for this test can be download from the link below.